In the throws of a stressful PhD, I’ve decided to start a blog. And so I say “Hello World!” as is customarily expected by any programmer. I plan to discuss random ideations when I feel like journaling while also creating a research journal of what I study each day to not only help me process what I read/work on but also practice my writing and communication skills. I’ll probably alternate every other day or so on these two areas.
I tend to be open with my thoughts, which will often be a little blunt or risque sometimes. But I believe being my authentic self, especially in public, will not only help me in grappling with my own struggles and learning to overcome them, but will also help others in realizing that for at least one other person, they could be dealing with similar issues as them. Thus, I hope my experiences could impart some useful information to whomever takes the time to read this.
For instance I find myself to be depressed as of late for various reasons including not being as productive as I’d like to be and missing out on visiting friends because these additional years of graduate school takes over all my time and obligations, thus disallowing myself from being able to leave the campus at most times. It’s the sacrifice I, and I believe most researchers, make as we pursue this path of enlightenment to understand the problems we are most passionate about. I incredibly appreciate the opportunity to be able to continue spending my time improving myself through education, but I’m getting more and more anxious to find ways out of this ivory tower and try my hands on making an impact on the ground and not in academic articles.
That’s probably why I’ve sought out travel opportunities like to India, Indonesia, Barcelona, and my next trip Haiti. I still regret that I was so engrossed in my work last year that I skipped out going to Japan with some amazing friends, but I shouldn’t dwell on the past. I can assure myself knowing I’ll get there eventually.
In order to help myself better enjoy graduate school (or at least get over this current hump I’ve made for myself), I plan to not guilt myself about my choices and allow myself to take time off and escape from the walls of our offices/labs/minds. I hope academic institutions will eventually support and encourage this more often, but as was shown in our RCR training videos, a postdoc coerced the audience that staying late in the lab, like all academics should, was necesary, thus missing spending time with his wife for an upcomoing ultrasound was in fact justified. Science over marriage. Back to reality, scheduling in time to decompress, like all jobs, with something completely different would be good. Rock climbing and going to the gym regularly again would be great! Too often, especially in American culture, people like me guilt ourselves into working tirelessly while forgetting the simpler things in life like friends, staring at the sky, or a pickup soccer game. I don’t want to be stuck in a constant loop of consumerist pursuit because in truth that is not what I want.
What I want from my work is an opportunity to understand how the universe and the environment around me works. But what I want for myself is simply to live contented, where I can be one with the people I share my life with while also being able to live in awe of the Earth we come from. Beauty can be found in the most simplest of things, but if I let the pursuit of work be corrupted by capitalist ideals, then I will miss out on just appreciating the moment. We don’t always need to be looking forward to that next rung of the career ladder. Too much time spent planning on what we could be takes away from who we are in the now.
That’s enough rambling on an opening post. I also need to give credit to the designer of this template. Learn more about this Jekyll Chalk template here.
Installing it was a little hard due to Windows and Cygwin never getting along and my noob experience with ruby in Linux, but I came through. It’s only unfortunate that due to Github’s limited compatibility with some plugins I’m using, I must manually build sites and upload to Github instead of just editting my markdown and pushing that (Github pages can build simple Jekyll sites automatically). Learn about Jekyll here.
Lastly, I’m including all the original content of this Chalk template introduction content below to maintain a record (and serve as manual to you) if you wish to recreate smething like this site for yourself.
Introducing Chalk
Features:
- Dark and Light theme.
- Filter on tags.
- Customizable pagination.
- Beautified link sharing in Facebook and other social media.
- Automatic time to read post indicator.
- Automatic RSS feed.
- About page.
- 404 page.
- SEO optimized.
- PageSpeed optimized.
- Cross browser support (supports all modern browsers).
- Media embed for videos.
- Enlarge images on click (like Medium).
Integrations
- Google Analytics
- Google Fonts
- Disqus
- Ionicons
- Social media links
Used tools
- Autoprefixer
- Bower
- Circle CI
- Html-proofer
- Jekyll
- Jekyll assets
- Jekyll Sitemap
- HTML5 Boilerplate (Influenced by)
- Kickster
- Retina.js
- STACSS
Installation
If you haven’t installed the following tools then go ahead and do so (make sure you have Homebrew installed):
brew install ruby
brew install npm
Next setup your environment:
npm run setupDevelopment
Run Jekyll:
npm run localDeploy to GitHub Pages
Run this in the root project folder in your console:
npm run publishYou can find more info on how to use the gh-pages branch and a custom domain here.
View this for more info about automated deployment with Circle CI.
Important note: Chalk does not support the standard way of Jekyll hosting on GitHub Pages. You need to deploy your working branch (can be any branch, for xxx.github.io users: use another branch than master) with the npm run publish command. Reason for this is because Chalk uses Jekyll plugins that aren’t supported by GitHub pages. The npm run publish command will automatically build the entire project, then push it to the gh-pages branch of your repo. The script creates that branch for you so no need to create it yourself. Also, if you are developing a project site, you must set the baseurl in _config.yml to the name of your repository.
If you have any questions about using or configuring Chalk please create an issue here!
License
MIT License
Contributing
- Fork it (https://github.com/[my-github-username]/chalk/fork)
- Create your feature branch (
git checkout -b my-new-feature) - Commit your changes (
git commit -am 'Add some feature') - Push to the branch (
git push origin my-new-feature) - Create a new Pull Request
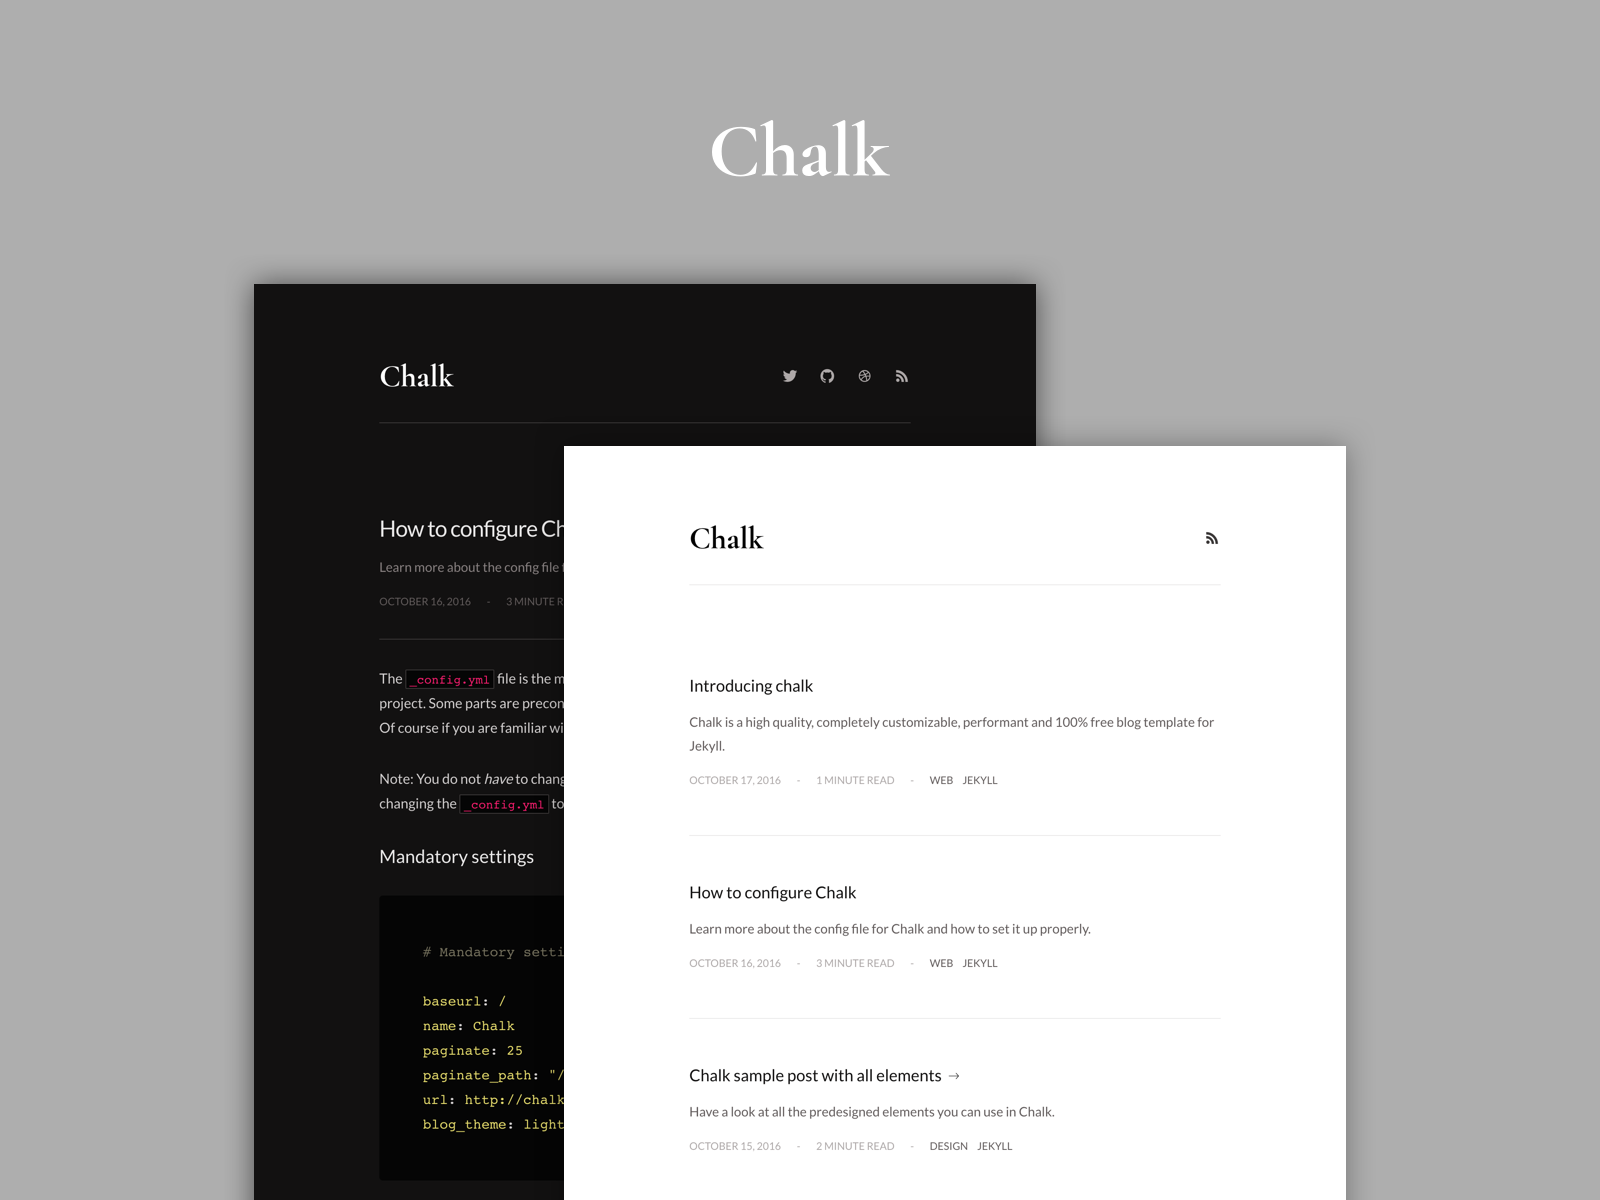
How to Configure Chalk
The _config.yml file is the most important one. It contains the basic setup of your project.
Some parts are preconfigured and shouldn’t be touched as the comments state.
Of course if you are familiar with Jekyll you can change whatever you want.
Note: You do not have to change anything. Chalk works out of the box. I do recommend changing the _config.yml to suit your needs.
Mandatory settings
# Mandatory settings

baseurl: /
name: Chalk
paginate: 25
paginate_path: "/posts/page/:num/"
url: http://chalk.nielsenramon.com # add site url http://example.com/
blog_theme: light # Or use dark-
baseurl: Set baseurl to match the production URL without the host. -
name: Used as the page title and throughout your project as the default name. -
paginate: Define how much posts should be shown on the homepage for each page. -
paginate_path: Change the path name to something else for paginated pages. -
url: Your production url (http://example.com). -
blog_theme: 2 options here,lightordark. Choose which design you prefer.
Optional settings
# Optional settings

discus_identifier: # Add your Disqus identifier
ga_analytics: # Add your GA Tracking Id
rss_enabled: true # Change to false if not
social:
  dribbble: # Add your Dribbble link
  facebook: # Add your Facebook link
  github: # Add your GitHub link
  linkedin: # Add your LinkedIn link
twitter: # Add your Twitter handle-
discus_identifier: If you like to use Disqus for comments on each blog post, you can add the Disqus identifier here and it will popup automatically. -
ga_analytics: Add Google Analytics Tracking ID here. -
rss_enabled: When set totrue, the rss icon in the top navigation will show up and people will be able to subscribe to your rss feed. -
social: Add you social links in here. When filled in they will show up in the navigation.
Other settings
Other than the _config.yml you can change a lot more in the project.
Tags
To add tags you must add a file with the tag name in _my_tags.
In the file you add 2 variables: slug used to reference the tag and name which is displayed in the article header.
# _my_tags/design.md
---
slug: design
name: Design
---
SCSS
You can change colors, fonts, sizes in the _assets/stylesheets/_variables.scss file.
For each specific theme (light or dark) you can change the variables in _assets/stylesheets/dark.scss and _assets/stylesheets/light.scss.
// =============================================================================
// Variables
// =============================================================================

// Typography
// =============================================================================

$sans-serif: "Lato", Helvetica, Arial, sans-serif;
$serif: "Cormorant Garamond", Courier, serif;
$base-font-family: $sans-serif;
$base-font-weight: 400;
$base-font-weight-bold: 700;

// Colors
// =============================================================================

// Brand colors

$brand-success: #1fbf92;
$brand-danger: #e74b3c;
$brand-primary: #3449ed;
$brand-warning: #f1c90b;

// Sizes
// =============================================================================

// Grid

$columns: 12;
$max-width: 650px;
$gutter: 20px;
$one-column: 100% / $columns;
$negative-gutter: 0 - $gutter;

// Font sizes

$base-font-size: 16px;
$base-line-height: 1.8;

// Box sizes

$base-border-radius: 4px;

// Effects
// =============================================================================

$base-transition-speed: .2s;
Fonts
Chalk uses Google Fonts by default. You can change the font in _includes/javascripts.html.
<script src="https://ajax.googleapis.com/ajax/libs/webfont/1.6.16/webfont.js"></script>
<script>
  WebFont.load({
    google: {
      families: ['Cormorant Garamond:700', 'Lato:300,400,700']
    }
  });
</script>
Footer
Changing the text in the footer is easy. It can be found in _includes/footer.html.
If you have any questions about using or configuring Chalk please create an issue here!
Chalk Sample Post with All the Elements
Chalk uses the default Jekyll syntax highlighting gem Rouge. It has a customized style for both light and dark theme.
Use the highlight tag to use the following code highlighting your preferred language:
<!-- This is a comment -->
<div class="grid">
  <h1>This is a heading</h1>
  <p>
    This is a paragraph text.
  </p>
</div>
Headings
Chalk includes 3 headings by default:
Heading first level
Heading second level
Heading third level
## Heading first level
### Heading second level
#### Heading third level
Lists
Unordered list example:
- Unordered list item 1
- Unordered list item 2
- Unordered list item 3
- Unordered list item 4
Ordered list example:
- Ordered list item 1
- Ordered list item 1
- Ordered list item 1
- Ordered list item 1
* Unordered list item 1
* Unordered list item 2

1. Order list item 1
2. Order list item 1
Emoji support 
Emoji’s can be used everywhere in ![]() your markdown!
your markdown!
Quotes
A quote looks like this:
Lorem ipsum dolor sit amet, consectetur adipisicing elit, sed do eiusmod tempor incididunt ut labore et dolore magna.
> Lorem ipsum dolor sit amet, consectetur adipisicing elit, sed do eiusmod tempor
incididunt ut labore et dolore magna.
Media
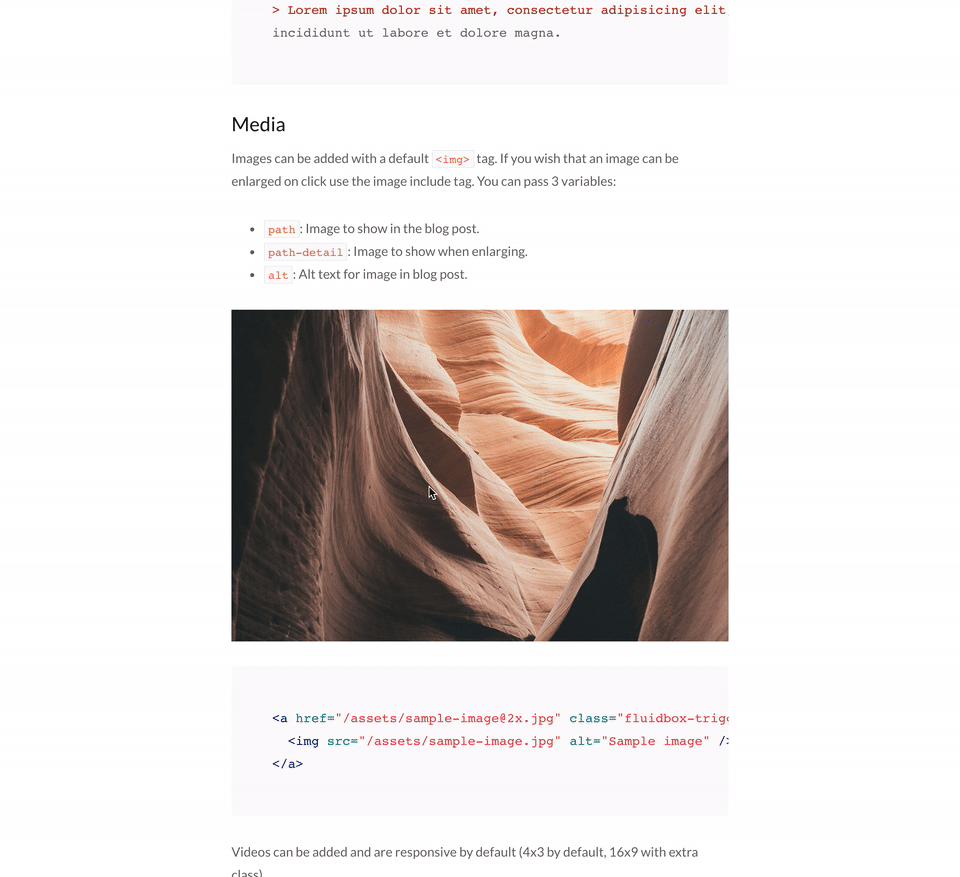
Images can be added with a default <img> tag.
If you wish that an image can be enlarged on click use the image include tag. You can pass 3 variables:
-
path: Image to show in the blog post. -
path-detail: Image to show when enlarging. -
alt: Alt text for image in blog post.

<a href="/blog/assets/documentation/sample-image@2x-f8eae5b88a72da0c485e1c9821020764ff2c5b7d3a5c05f1e14fb2a276c07781.jpg">
  <img src="/blog/assets/documentation/sample-image-0a264584b152aa8d86f61525d05ae1131787d0a1029aa1cb7e3e4148b5d34755.jpg" alt="Sample image" class="zooming"
    data-rjs="/blog/assets/documentation/sample-image@2x-f8eae5b88a72da0c485e1c9821020764ff2c5b7d3a5c05f1e14fb2a276c07781.jpg"
    data-zooming-width="1220"
    data-zooming-height="813"
  />
</a>
Videos can be added and are responsive by default (4x3 by default, 16x9 with extra class).
<div class="embed-responsive embed-responsive-16by9">
<iframe src="url-to-video" frameborder="0" allowfullscreen></iframe>
</div>